Red and Black Dress

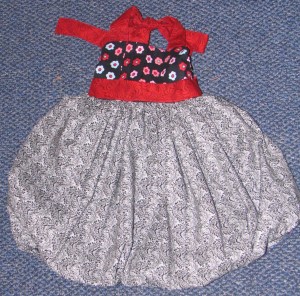
I absolutely LOVED this bubble skirt dress pattern!

It’s McCall’s M6271. You can do it long or short, and there’s also shorts to go under the short dress version.

I made the longer version since my little girl refuses to wear shorts.

And it’s adorable! I’ve tried out several bubble skirt dress patterns and this is the first one that I’ve liked. I think because this pattern has LOTS of fabric in the skirt so it’s nice and poofy. Guaranteed to make my little princess happy!

The Foundary has a Great Return Policy

I shop a lot of different sample sale sites, it lets me get things that I wouldn’t otherwise buy at prices I’m willing to pay. My most recent experience was with The Foundary. I ordered a pendant light for my bathroom. It was only $30, well $35 with shipping, but still a great price considering the cost of all the other pendant lights I’ve liked.

Their shipping is really fast, so I got this in under five days. Unfortunately, when it was delivered the glass globe on the light was broken. I’ve received broken stuff from sample sale sites before, Billion Dollar Babes is the one I’ve had trouble with in the past. Their return policy is terrible and I was expecting the same experience with The Foundary. Imagine my surprise when I discovered an easy to fill out form on the Foundary’s site.

I filled out the form, and requested a replacement product (I really like this light so I was willing to try again). Within 15 minutes I had received an e-mail confirming my return, and telling me to just keep my broken one and donate it to charity – no need to ship it back. And 15 minutes after that I received another e-mail confirming that my replacement product had been ordered and would be shipped soon.

I received my new light today in one piece – barely a week since my original order. And I couldn’t be happier! Now I’m off to add “Hang Bathroom Light” to my husband’s todo list.

More Pictures from Sweet Booties!

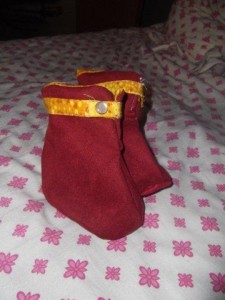
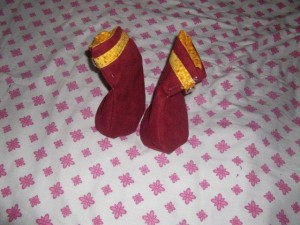
More pictures of projects from my Sweet Booties! book. My sister made these baby boots when she was in town the other week. We had so much fun sewing together!

I never would have paired the red leather and yellow lining together but she did, and I think they look great now that I see them together! It’s so much fun to watch someone else combine fabrics in ways I never would!

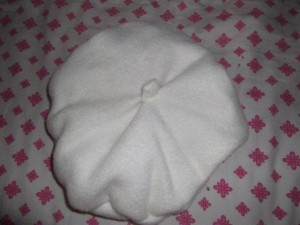
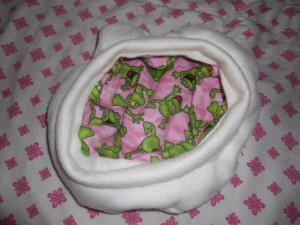
And of course, her hat. This was actually a baby pattern but we added a few inches and made a hat for her. It’s such an easy pattern to make (just a couple of circles) and very easy to alter. I’ll have to make it the right size for my baby. The baby pattern has an attached chin strap – which we obviously removed for an adult.

Baby Shoes

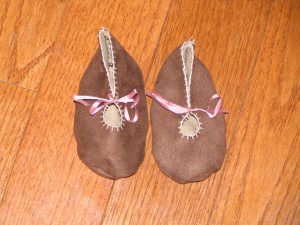
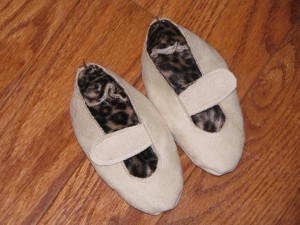
Two pairs of baby shoes from my new Sweet Booties! book.

This book has the cutest baby things in it! Booties, bibs, hats, bloomers, etc.

My sister made a really cute pair of red and yellow baby boots at the same time as I was working on these. As soon as I get a picture from her I’ll post it.

These on the left I did a blanket stitch around the opening and then ran the ribbon through when the shoes were done.

The sizing was a tad smaller than I expected so unfortunately these shoes don’t fit my baby so I’ll either save them for a shower gift, for future children, or sell them on my Etsy shop when I start it up the end of this year. I’m sure my baby doesn’t mind, she doesn’t even like socks!

I love these Mary Jane’s! I used some leather on the outside and some animal print fabric I had left over from a poodle skirt I did a while back. The pattern called for a button but I used velcro and I really like it. Trying to do buttons on a kicking baby just doesn’t sound like fun.

Princess Dress

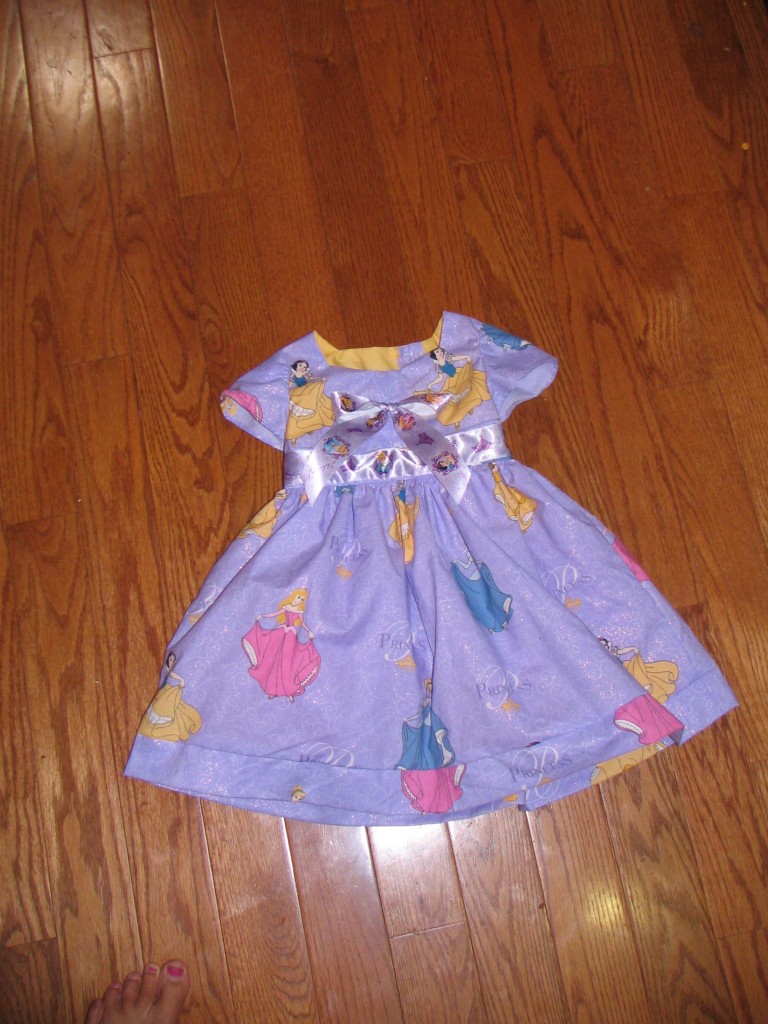
My latest dress for my little girl. She loves dresses so I’ve just started getting her only dresses since that’s all she wears. I have a drawer full of cute play clothes that have never gotten worn. Oh well, maybe the baby will like them when she’s bigger!

The pattern didn’t call for a bow in the back but the ribbon was just so cute I had to add it! And, what you can’t see in the picture is the underskirt with tulle to make the dress fuller.

One thing about this pattern, there’s buttons in the back and I’ve never seen a skirt with buttons constructed quite this way. I think it had to do with the underskirt but I found it a little confusing. I ended up reading the instructions 4 times before I fully understood it.

Camouflage Dress

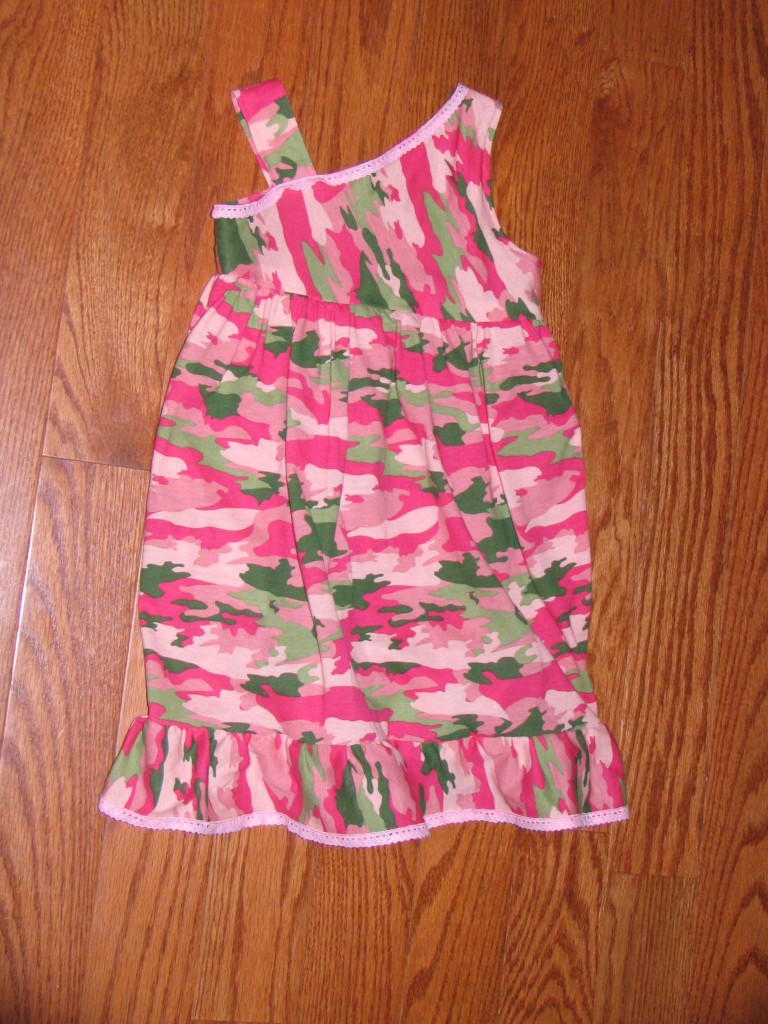
Here’s my latest creation. A pink camouflage dress for my little girl. I was nervous about working with a knit since I have trouble with them stretching on me but this fabric worked great and it’s so comfortable!

I have a shirt cut out for myself out of this and I’m looking forward to getting it put together so I can wear it!


This was from McCall’s #6315 pattern. I added the pink lace at the neck and hem, but other than that I followed the pattern. There’s no zipper or button so this is a really easy and fast pattern. I put it together in under 2 hours.

Bizzagent.com

Yesterday, I received my free Dr. Scholl’s high heel insoles from bzzagent.com. If you haven’t checked out bzzagent.com you should sometime. Basically, how it works is they send you free products to try and you review them – and mention them to your friends if you like them.

So far, I’ve gotten to try out Cover Girl foundation and now these Dr. Scholl’s High Heel Insoles. If you’re local to me and you are just dying to try these out I have $4 off coupons that I can get to you. (They cost $12.99 a pair so this makes them $8.99)

I have tried them and I’m not really that impressed. They’re for size 6-10 women’s and I wear a size 9 1/2. For me, the insoles are just a little too short. They either cushion my heel or my toe but not both. And the arch support is a tad too big for me. I think if you wear a smaller shoe these might work for you but they don’t work well for me.

My toddler enjoys sticking them to the bottom of her feet and parading around the house though, so I suppose I’ll hold on to them for a little while 🙂

Recipe for Peanut Butter Pie

I had a couple of people ask me for this so, here’s my recipe for peanut butter pie:

crust
9 graham crackers, coarsely crushed
1/4 C brown sugar
1/4 t salt
1/8 t ground nutmeg (my husband didn’t like the nutmeg in this crust)
6 T melted butter

Filling
8 large egg yolks
12 T sugar, divided
1 1/2 C whole milk
1 vanilla bean, split lengthwise
3/4 C unsalted butter, room temperature
1 C creamy peanut butter
2 T powdered sugar
1/2 t salt

Topping
2 oz. bittersweet chocolate
2 1/2 T unsalted butter
Honeycomb (the recipe for this is in my previous post

Crust: preheat oven to 325. Finely grind crackers, sugar, salt, and nutmeg in a food processor. Transfer crumb mixture to a bowl. Add butter and stir to blend. Pack crumbs onto bottom and sides of a 9″ glass or metal pie pan. Bake until golden brown. About 15 minutes. Let cool.

Filling: Mix yolks and 6 T sugar in the bowl of a stand mixer fitted with a whisk attachment. Beat at high speed until ribbons form, stopping once to scrape down sides of bowl, about 2 minutes.

Combine milk and remaining 6 T sugar in a large saucepan; scrape in seeds from vanilla bean and add bean. Bring to a boil, stirring to dissolve sugar. Remove bean. With mixer running, gradually add hot milk mixture to yolk mixture. Scrape mixture back into pan. Clean bowl. Whisking constantly, bring to a boil over medium heat. Remove pan from heat; whisk vigorously for 1 min. Return custard to mixing bowl; beat on high speed until cool, about 4 min. Mix in butter one T at a time. Add peanut butter, powdered sugar, and salt; beat to blend. Scrape filling into cooled crust; smooth top. Chill until set, 2-3 hrs.

Topping: Stir chocolate and butter in a medium bowl set over a saucepan of simmering water until melted and smooth.

Drizzle some of the chocolate glaze over the peanut butter filling, making a circle in the middle of the pie and leaving a 1 – 2 in plain border. Pile pieces of honeycomb on top then drizzle remaining chocolate glaze over.

Peanut Butter Pie

I tried this pie out over the weekend.

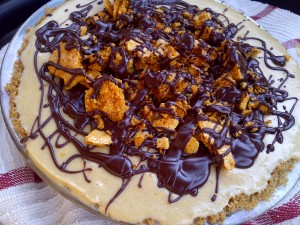
You cook the filling on the stove and let it set in the fridge for a couple of hours. As you can see, mine was still a little bit soft when I took this picture.

But, I loved the pie! It was really rich so you could only eat a small piece, but it was very tasty!

And the honeycomb on top was so easy to make. You mix 1/4 C water, 1T honey, 3T corn syrup, and 1 1/2C sugar in a saucepan until it starts to boil, then you turn the heat up and let it boil, swirling the pot occasionally until the sugar just starts to brown (and don’t wait for it to get a dark brown, I had to make two batches because my first one was too brown and it tasted burnt). At the first tint of brown, remove it from the heat and whisk in 1T baking soda (it will bubble really high so use a large saucepan) immediately pour the whole thing out on a cookie sheet lined with wax paper and let it sit for 20 minutes. Then you can break or cut it in pieces and eat. It doesn’t store really well, it tends to get a bit chewy after a couple of days.

Deals this week

Deal pulp is offering $5 off an order of $10 with coupon code SHOPLATELY. The great thing, their stuff is already discounted over 50% so this is a really great deal!

And My Habit has $25 off and free shipping with any purchase. You don’t even have to purchase something that’s $25, if it’s $25 or less you get it free!