Billion Dollar Brows Review

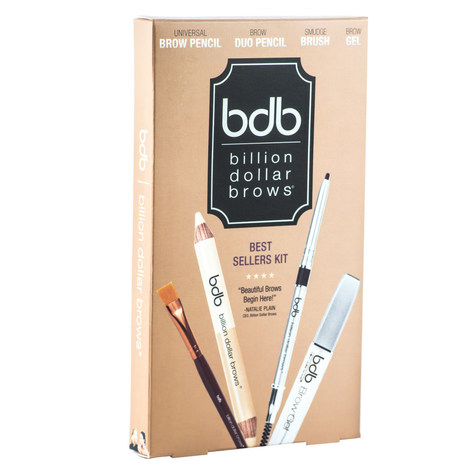
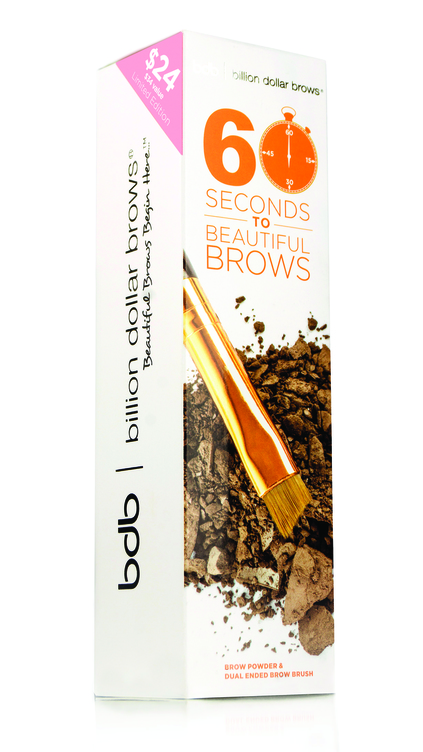
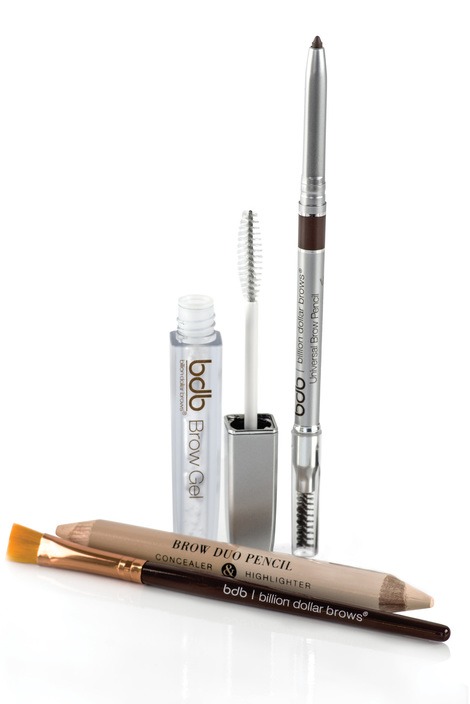
rvXvZKSfRhSxSLhSCrh6_billiondollarbrows3 A big thanks to Billion Dollar Brows for letting me test these awesome products! I was super excited to try out the Billion Dollar Brows Best Sellers Kit and the 60 Seconds To Beautiful Brows Kit. I just don’t have time for tweezing or waxing but I still want some shaping and beautiful eyebrows. So I just couldn’t wait to try these out! UzzQwNOTuy0T28A2xuN8_billiondollarbrowskit The 60 Seconds to Beautiful Brows kit really does only take 60 seconds. It’s super easy. Use the brush to brush on some brow powder and then use the curly end of the brush to blend the powder into your brows. Now, my hair is brown which means that my brows are brown. So, this darkened my eyebrows a tad but didn’t do a ton for me. Just for comparison I tried this out on my 7yr old who has blond hair and really light brows that you can barely see. I brushed a little on and then blended it and it was perfect. You could see her eyebrow way better but I hadn’t really changed the color of her brows (they were a little darker but not a dark brown or anything shocking). With dark brows this product didn’t do a ton for me, but if you have lighter or thin brows you’ll probably love this. In just 60 seconds you can have more noticeable and highlighted brows. IVy9v6QEQSWdWaVsIuI9_billiondollarbrows2 The product I really loved was the Best Sellers Kit. And I figured out pretty quickly why these are best sellers. They’re awesome! I started with the brow duo pencil and highlighted my brow bone – the first time I tried this I highlighted a bit too much, but I used the blending brush and fixed it, so no problem. I love how the highlighter let me shape my brow a little big and let me make my eye area a little bigger. Really, I just love how it opened up and lightened my eye. Next, I used the universal brow pencil and darkened the brow areas that I wanted a little darker. I used the curly end of the brush to blend the color evenly into my brow. Then, I used the blending brush and blended my highlights so they’re just the way I want them. I also applied eye shadow and blended the top of my eye shadow into the highlight area for a finished look. Last, I applied the brow gel to my eyebrows. True to the description, this stuff does not flake after wearing. And, it did a great job of smoothing down any stray hairs and keeping my brow looking just the way I want it. This is a truly awesome product and I’m so happy with my results!

I received this product free for purposes of my review. All opinions are my own.

Graham Cracker Houses

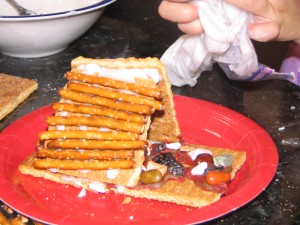
Instead of gingerbread houses – which are way too much work with kids – we make graham cracker houses.

We invite a bunch of friends over and make graham cracker houses. I usually build a bunch of houses the morning before the party so they’re dry and ready for candy when the kids arrive.

Ingredients

Graham crackers
Powdered Sugar
Water
Candy or other toppings of your choice

Small candy’s are best. Red hots, mini pretzels, mini candy canes, grated coconut, mini chocolate chips, sprinkles, etc.

For the icing/cement I mix two cups of powdered sugar, and 1 Tbsp of water. Add more powdered sugar or water as needed to get a thick spreading consistency. I like to put my icing in a plastic sandwich bag, cut a tiny hole in one corner, and then pipe the icing out. The kids prefer to mix it in a bowl and then use a spoon to spread the icing everywhere – including their houses.

Graham cracker houses are really easy, and a great holiday party idea if you have kids (or if you just like playing with candy and icing)

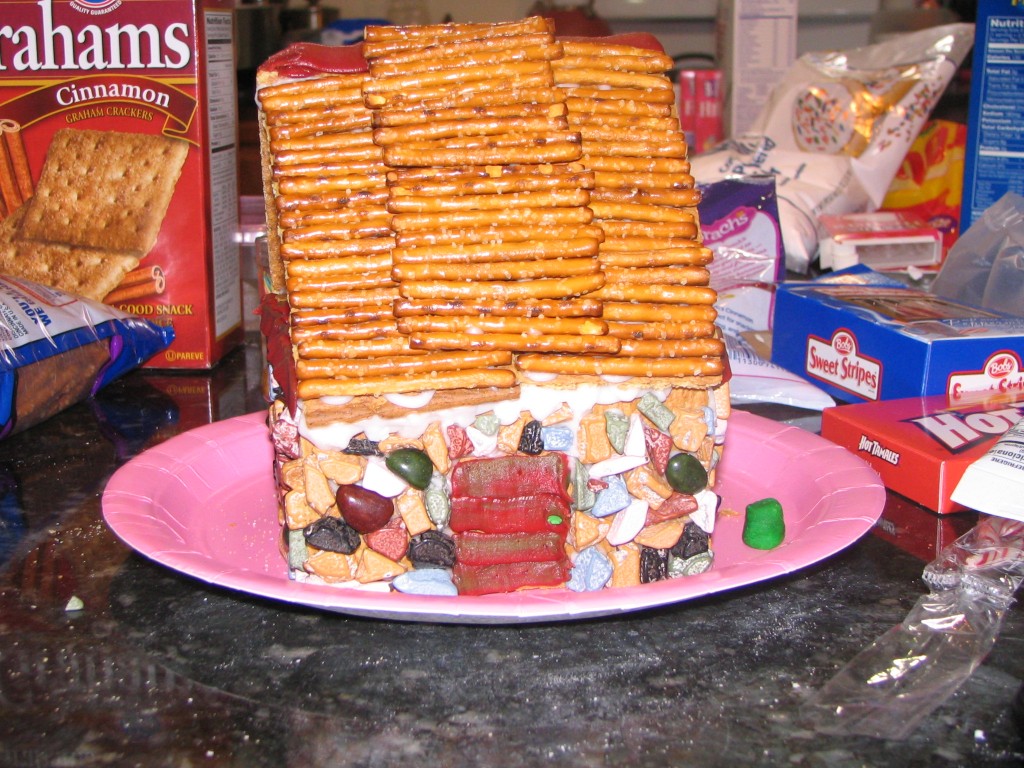
Here’s my house.

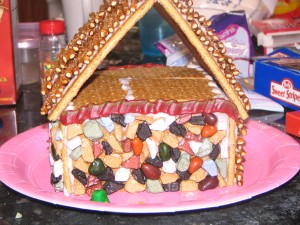
Side of my house

One of the kids houses. It looks like a tent to me. They made many other houses as well. The party is always so much fun. Just warn parents ahead of time that there will be lots and lots of sugar! I always make a couple crockpots of chili and meat balls so there is protein to balance out some of the sugar.

And, a melting house. This batch of icing was a tad thin and ended up slipping but I think it looks pretty cool!

And, as a plus, these houses are just as much fun to eat as they are to make!

League of Little Laughers Play Date

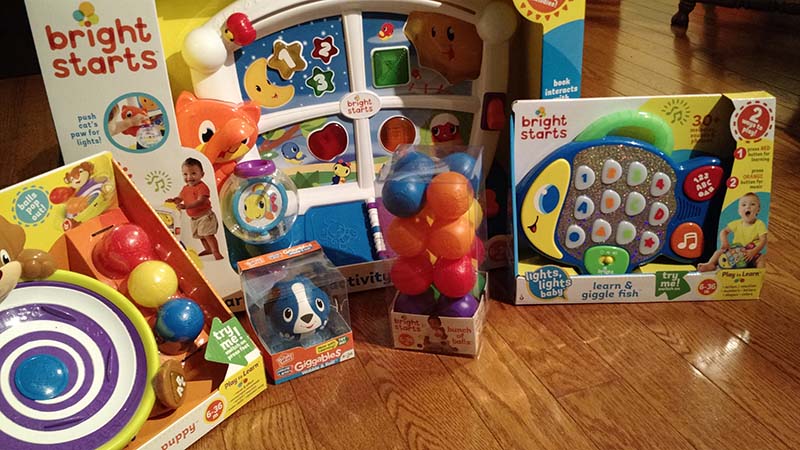
Thanks to Bright Starts for such a fun party pack! They sent a giant box of toys for me to host a “League of Little Laughers” Play Date with friends. We had a blast!

Because this was around the holidays and I hosted Thanksgiving at my house this year, I ended up hosting two smaller playdates because I just didn’t have the time for a giant playdate.

Bright Starts sent some truly awesome toys for the kids to play with.

IMG_20151120_173046055

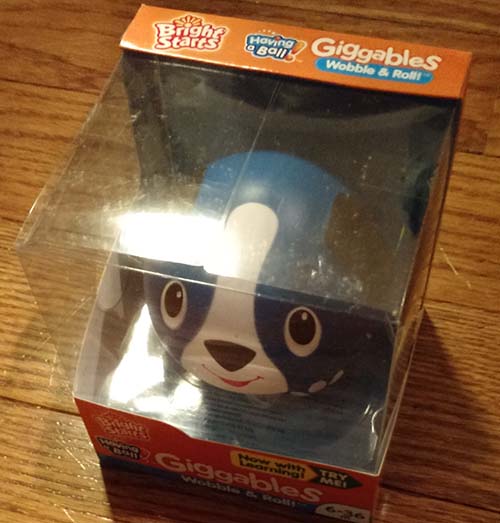
This little guy is called a “Giggable” and he’s so cute. My 2yr old just loves him, because he loves dogs. It’s so cute it rolls, wobbles, and barks. Really it’s the perfect toy for 2 or more toddlers to roll back and forth to each other.

IMG_20151120_173058558

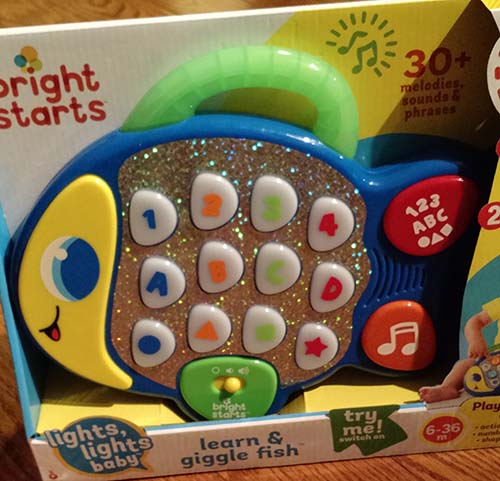
This Learn & Giggle Fish was very popular at both parties. Everyone had to play with it! As far as noise level goes, for a toy that plays music constantly, it’s really not bad. The buttons light up and the kids loved trying to see if they could get all the buttons to light up at the same time!

IMG_20151120_173134488

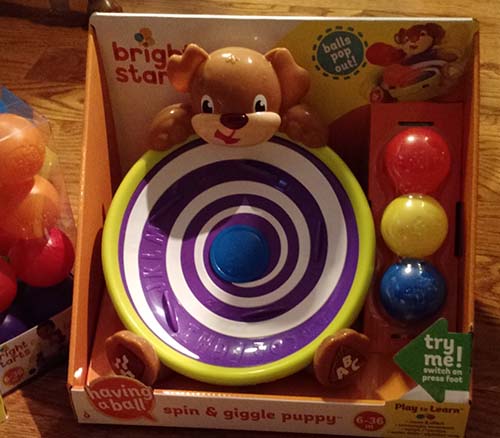
I think this Spin & Giggle Puppy is so adorable! The purple bowl spins and the puppy wobbles, tossing all the balls onto the floor. Luckily it’s a gentle toss because the kids were putting every little toy they could find in there just to see what would happen.

Oh, and see that extra pack of balls? It’s a good thing they sent extras because balls disappear at my house. I think we’ve lost half of them already!

IMG_20151120_173221525

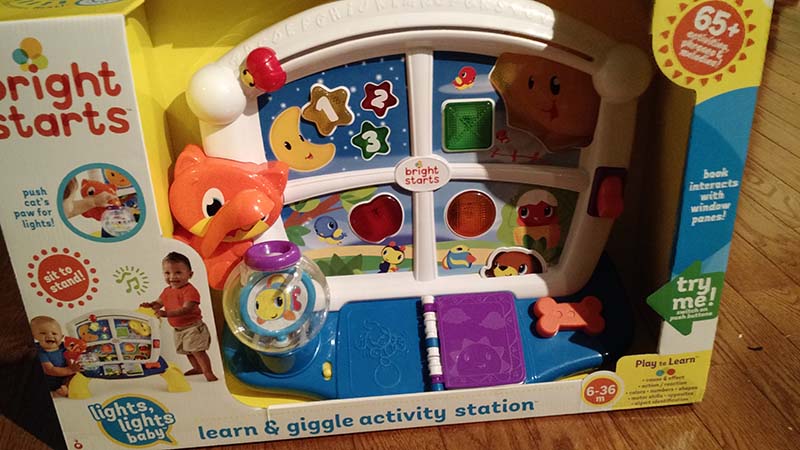
And last but not least, the Learn & Giggle Activity Station. This is so much fun for all ages. My 2yr old just picks it up and carries it to whatever room he wants to play in. Even the babies loved this one. It’s perfect for a new sitter because they can put their feet under the toy and be close enough to the toy to reach everything.

Every page in the book provides for different songs and such from the four squares on the station so there really is 65+ sounds and activities.

These toys were so much fun at our playdates and kept babies and toddlers of all ages well entertained.

I received free products in order to host the Bright Starts sponsored Play Date. The opinions expressed here are my own.

Corn Pudding Recipe

corn

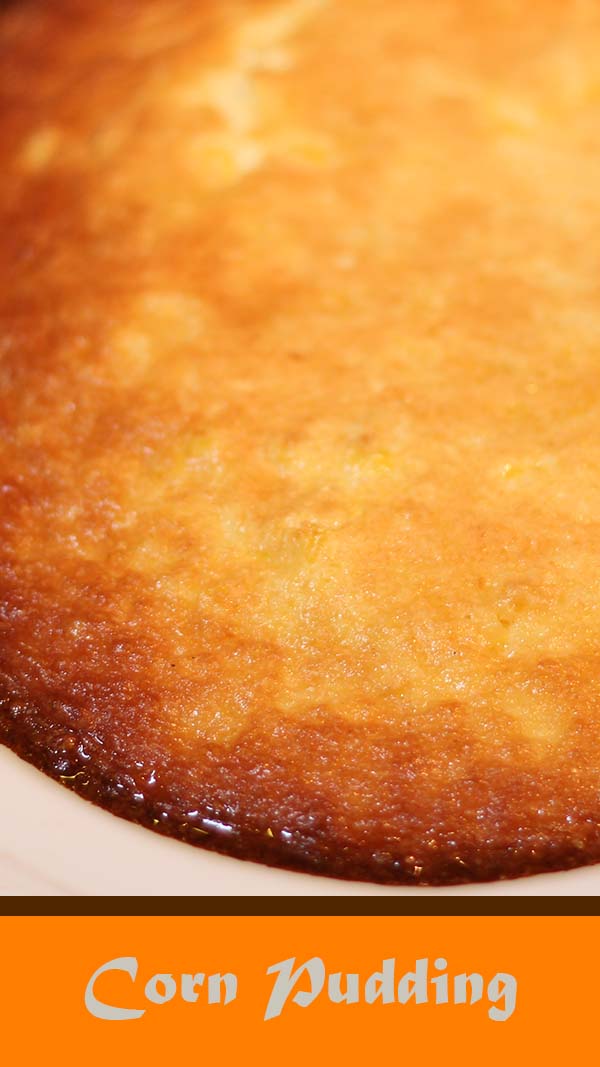
One of my favorite holiday recipes is Corn Pudding. With eggs, butter, and whipping cream, how could it not be! This is a favorite among all my guests and I rarely have leftovers. People will return for seconds and thirds.

Corn Pudding
Cook time: 50 minutes  Oven Temp: 350  Servings: 8-10

1/3         cup sugar

3              Tbsp. flour

2              tsp. baking powder

2              tsp. salt

1              tsp. cumin

2              cups whipping cream

½             cup butter, melted

6              extra large eggs, beaten

2              pkg. frozen golden sweet corn

  1. Mix the sugar, flour, baking powder, salt and cumin together. Combine the cream and butter in a bowl and stir until blended. Stir in the eggs. Add the sugar mixture gradually, stirring constantly until combined. Stir in the corn.
  2. Pour into a buttered 9 X 13 inch or 2qt baking dish.
  3. Bake at 350 for 60 to 90 minutes or until the center is firm and the top is golden brown. Let stand for 15 minutes before serving. I find that if it’s alone in the oven it takes 60 minutes. If there’s other items in the oven (which is usually the case for holiday cooking) then it takes closer to 90 minutes to set. Make sure you cook until the center is set. Runny corn pudding is not good.

Vampirina Ballerina Review and Craft

IMG_2160

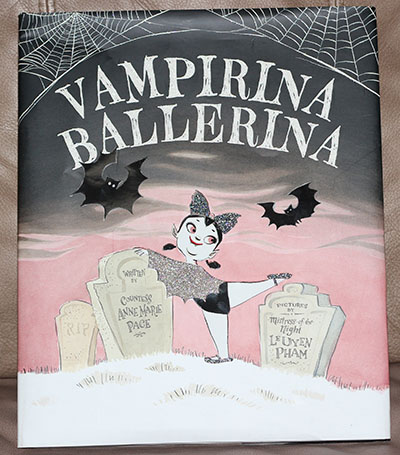
For Picture Book Month I’m reviewing Vampirina Ballerina.

Vampirina Ballerina by Anne Marie Pace is an adorable book about a little vampire who wants to be a ballerina. It encourages being yourself, trying hard, and rejoicing in your achievements.

We had a great time reading this together and then making a little Tutu craft for the girl’s barbies.

Supplies

Rickrack or ribbon – small pieces will do

Tulle – about 1 yard

IMG_21421. Start by measuring your rickrack. You want it to be about 1 foot long for a barbie doll.

2. Next cut your tulle into 1/2 inch X 2 foot strips. You can trim these later if the skirt is too long.

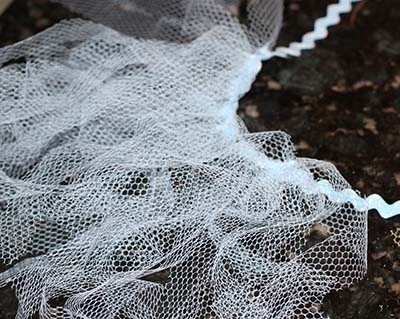
IMG_2149 3. Lay your rickrack out flat and tie your tulle strips onto it making a knot in the middle of your tulle (around the rickrack) Keep adding tulle until your skirt is nice and floofy.

You want to cover about 1/3 of your rickrack in tulle. The extra ends are going to be used for putting the skirt on your doll.

Once you have all your tulle on your ribbon or rickrack wrap it around your doll and tie a bow in the back.

IMG_2151

The girls had a blast making little tulle ballerina skirts for their dolls!

IMG_2158

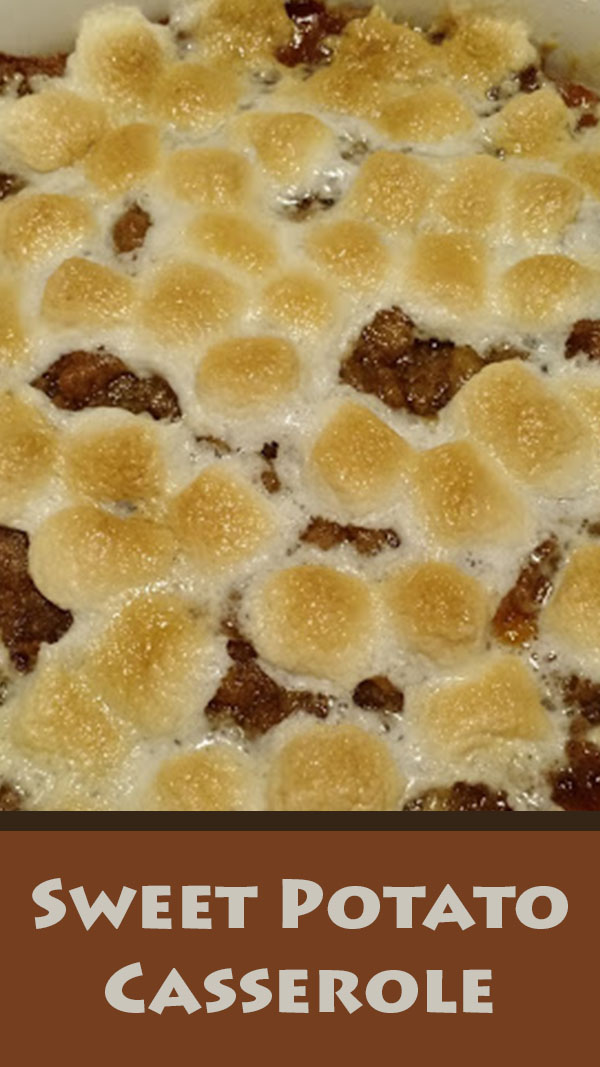
Sweet Potato Casserole

Potato

This is one of my favorite holiday recipes. Something I make for my family year after year. And something they request year after year.

Even my kids who won’t normally eat sweet potatoes gobble this up as fast as I can serve it to them!

Sweet Potato Casserole

Oven temp:350   Cook time:45min

1 C sugar

2 eggs

1 stick butter (softened)

1 tsp vanilla

1 large can sweet potatoes (you can also bake 4 medium sweet potatoes, remove the skins, and use them instead of the caned potatoes)

Topping

1/3 C melted butter

1/3 C flour

1 C brown sugar

1 Tbsp cinnamon


  1. Whip ingredients until fluffy.
  2. Combine topping ingredients and sprinkle over top
  3. Bake at 350 for 45 minutes

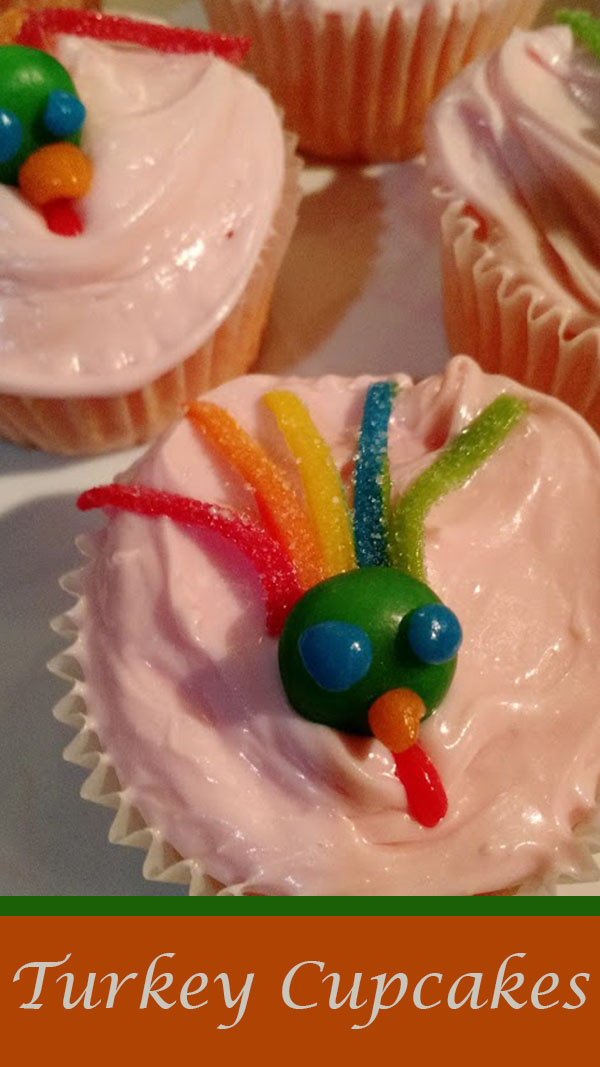
Turkey Cupcakes

turkeys

Many thanks to Airheads and Smiley 360 for the awesome free box of Airhead candy to make some fun holiday snacks with!

This project was way easier than it looks! Even the kids made some.

With Thanksgiving coming up, my thoughts turn to turkeys. And even the best roasted turkey isn’t as sweet as these.

Turkey Cupcakes

Cupcakes of your choice. I just made a box mix.
Icing of your choice. I just used the pre-made icing
blue, orange, and red Airheads
1 bag of Airheads bites
1 bag of Airheads Xtremes

Bake, cool, and ice your cupcakes.

imgresHead: Open your bag of Airhead Bites.

Eyes: Open your blue airhead and cut off two tiny pieces. Roll them between your fingers into tiny balls and press them onto an Airhead bite for the eyes.

Beak: Open your orange airhead and cut of a small piece. Roll it into a ball and then make one end pointy for the beak, press this onto the airhead bite.

Gobbler: Open your red airhead and cut a small strip off the top edge. Fold it in half to make it a little thicker, press together, and then press onto the bottom of your airhead bite under your beak.

Set your turkey head in the middle of your cupcake.

imagesTail: Open your airhead Xtremes and cut off a piece about 1 1/2 inches long. Using a pair of clean kitchen scissors carefully cut between the colors. DO NOT cut all the way to the end of your Xtreme piece. Leave about 1/4 inch uncut at the end.

Fan open your colorful tail feathers and place the 1/4 inch uncut edge right behind your turkey head on the cupcake.

And, you have an adorable, tasty, turkey cupcake.

As a side note, I put these in a cake holder overnight and the moisture from the icing “melted” the candy a little bit so if you make these the day before, you’re going to want to refrigerate them overnight or wait and put the turkeys on at the last minute.

I received this product free for purposes of my post, all opinions are my own.


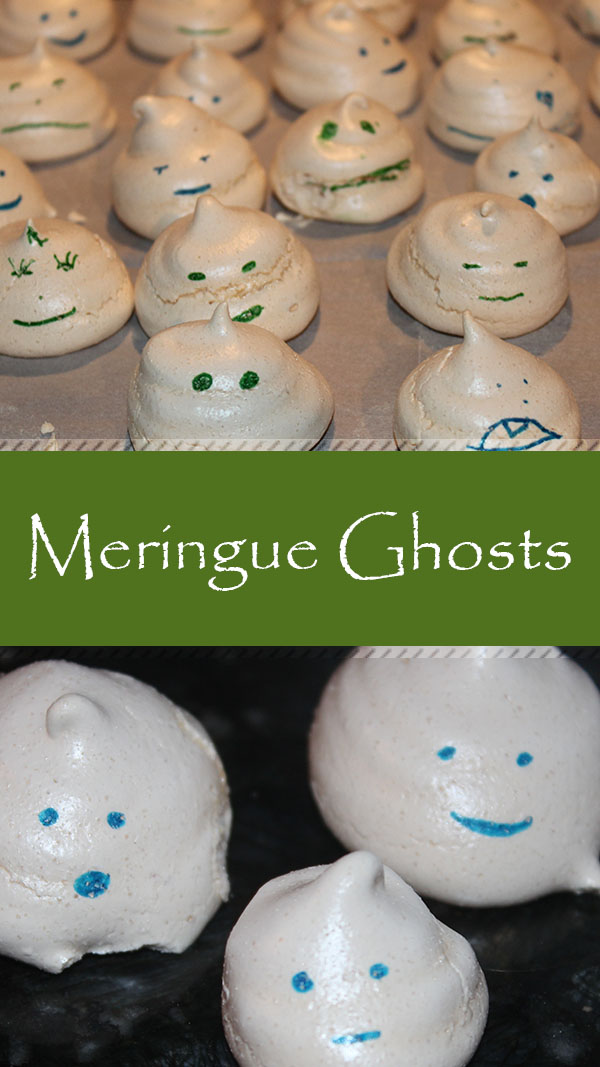
Meringue Ghosts

ghosts

For a fun and delicious Halloween treat, try these cute little ghost meringues.

I just love meringues! For starters, most people with any kind of food allergy can eat these. They’re remarkably popular items anywhere I serve them, for this very reason. There’s no nuts, gluten, or dairy. Unless someone has an egg allergy you’re probably safe serving these to anyone.

I also like to whip up a batch whenever I have egg whites left over from another baking project. If I make pudding, pudding only needs egg yokes so I’ll save the whites and make meringues next, for an easy treat.

Meringue Ghosts

3 egg whites – room temperature
1 cup sugar
1 tsp vanilla
1/2 tsp cream of tartar

Heat oven to 250 F.

I prefer to use a stand mixer for these because beating up these egg whites takes a LOT of beating!

Beat egg whites, vanilla, and cream of tartar until soft peaks form.

Gradually add in sugar and continue beating until stiff peaks form.

Line a cookie sheet with parchment paper. Pipe meringue batter onto the pan. I just put my batter in a ziploc bag and cut a small hole in the end. Pipe out a bunch of ghosts. You can put them pretty close together because they do not expand while cooking so you can fit a lot on one pan.

Place cookies in preheated oven and cook for 1 hour. Turn off oven and let set in the oven for 2 more hours. (this is so you get crunchy meringues).

Use a food-safe marker to draw on eyes and a mouth.

Monster Pretzels

pretzel

These are so easy to make. And so fun to make! My girls helped me with these and they opted not to put any of the halloween sprinkles on, but insisted on using hearts instead!

Any way you do it, have fun! They taste great too, so make a bunch, because if you don’t you’ll wish you had.

Pretzel Monsters

  • Bag (or two) of Chocolate covered pretzels – I just buy the cheapest chocolate covered pretzels I can find at the grocery store
  • Candy making chocolate in various colors – green and orange are great monster colors!
  • Assorted sprinkles

Spread parchment paper out on 2 cookie sheets.

Spread pretzels out on sheets in a single layer.

Melt the candy chocolate in a ziploc bag in the microwave. Microwave 15 to 30 seconds, mix and repeat until chocolate is smooth.

Cut a small hole in the corner of the bag and pipe into the top two sections of the pretzel. Immediately, add a large sprinkles for the eyes. (this is a great part for the kids, you pipe, and they stick on the sprinkles)

Let cool, remove from the tray, and enjoy.

I like to just set out a bowl of these on the counter when guests come over. They’re fun and so tasty!


Galaxy Buck: Mission to Sector 9 – review and giveaway

UnknownI definitely earned “mommy points” for this product test. We got to watch a pre-release copy of Galaxy Buck: Mission to Sector 9. My kids loved it.

I actually surprised them. I told them we had a new movie to watch but didn’t tell them what it was. When they figured out that it was Buck Denver they were so excited! We ended up watching it twice just because they liked it so much.

Take a look at the trailer here.

If you’re not familiar with Buck Denver, this is from VeggieTales creator PHIL VISCHER! Kids will enjoy Buck Denver’s latest adventure with his friends from What’s In the Bible? and parents will appreciate the humorous nods to Star Wars and Star Trek.  More importantly, Phil Vischer’s gifted teaching delivers a clear message to kids and adults about God’s love and purpose for our lives.  Galaxy Buck communicates important Biblical truths that will add to everyone’s faith foundation, whether a life-long Christian or a new creation in Christ.

Plus it combines two things my kids love, Whats In the Bible? and Star Trek.

If you’ve watched Veggie Tales and never seen What’s In the Bible? you need to find a copy of the first one and watch it. You’ll love it. Actually, you’re probably better off just buying the set because otherwise you’ll have an extra #1 like we do, because we bought #1 first and then purchased the set because we liked it so much.

Anyways, my 2 yr old actually calls the What’s in the Bible? series “Buck Denver”. The kids were so excited to watch a new movie with him.

The video was fun to watch for us and the kids, and it did a great job of communicating it’s message of trusting in God.

If you loved Veggie Tales and/or Whats In the Bible? you’ll love Galaxy Buck.

To find out more or pre-order your very own copy, visit the official Galaxy Buck website. Don’t want to wait for a DVD? You can watch it online at JellyTelly.

There’s lots of ways to follow Galaxy Buck.

Facebook

Twitter

Pinterest

Instagram

And, just for fun, I get to give away a DVD copy of Galaxy Buck: Mission to Sector 9, so, enter below and good luck!

I received this product free for purposes of my review. All opinions are my own.